
DIY Decoupage Candle Project Perfect Ostara
A quick scroll through this site will show you that I love candles and DIY candle crafts.. and guess what? Here is another one for Ostara.
Ostara 101
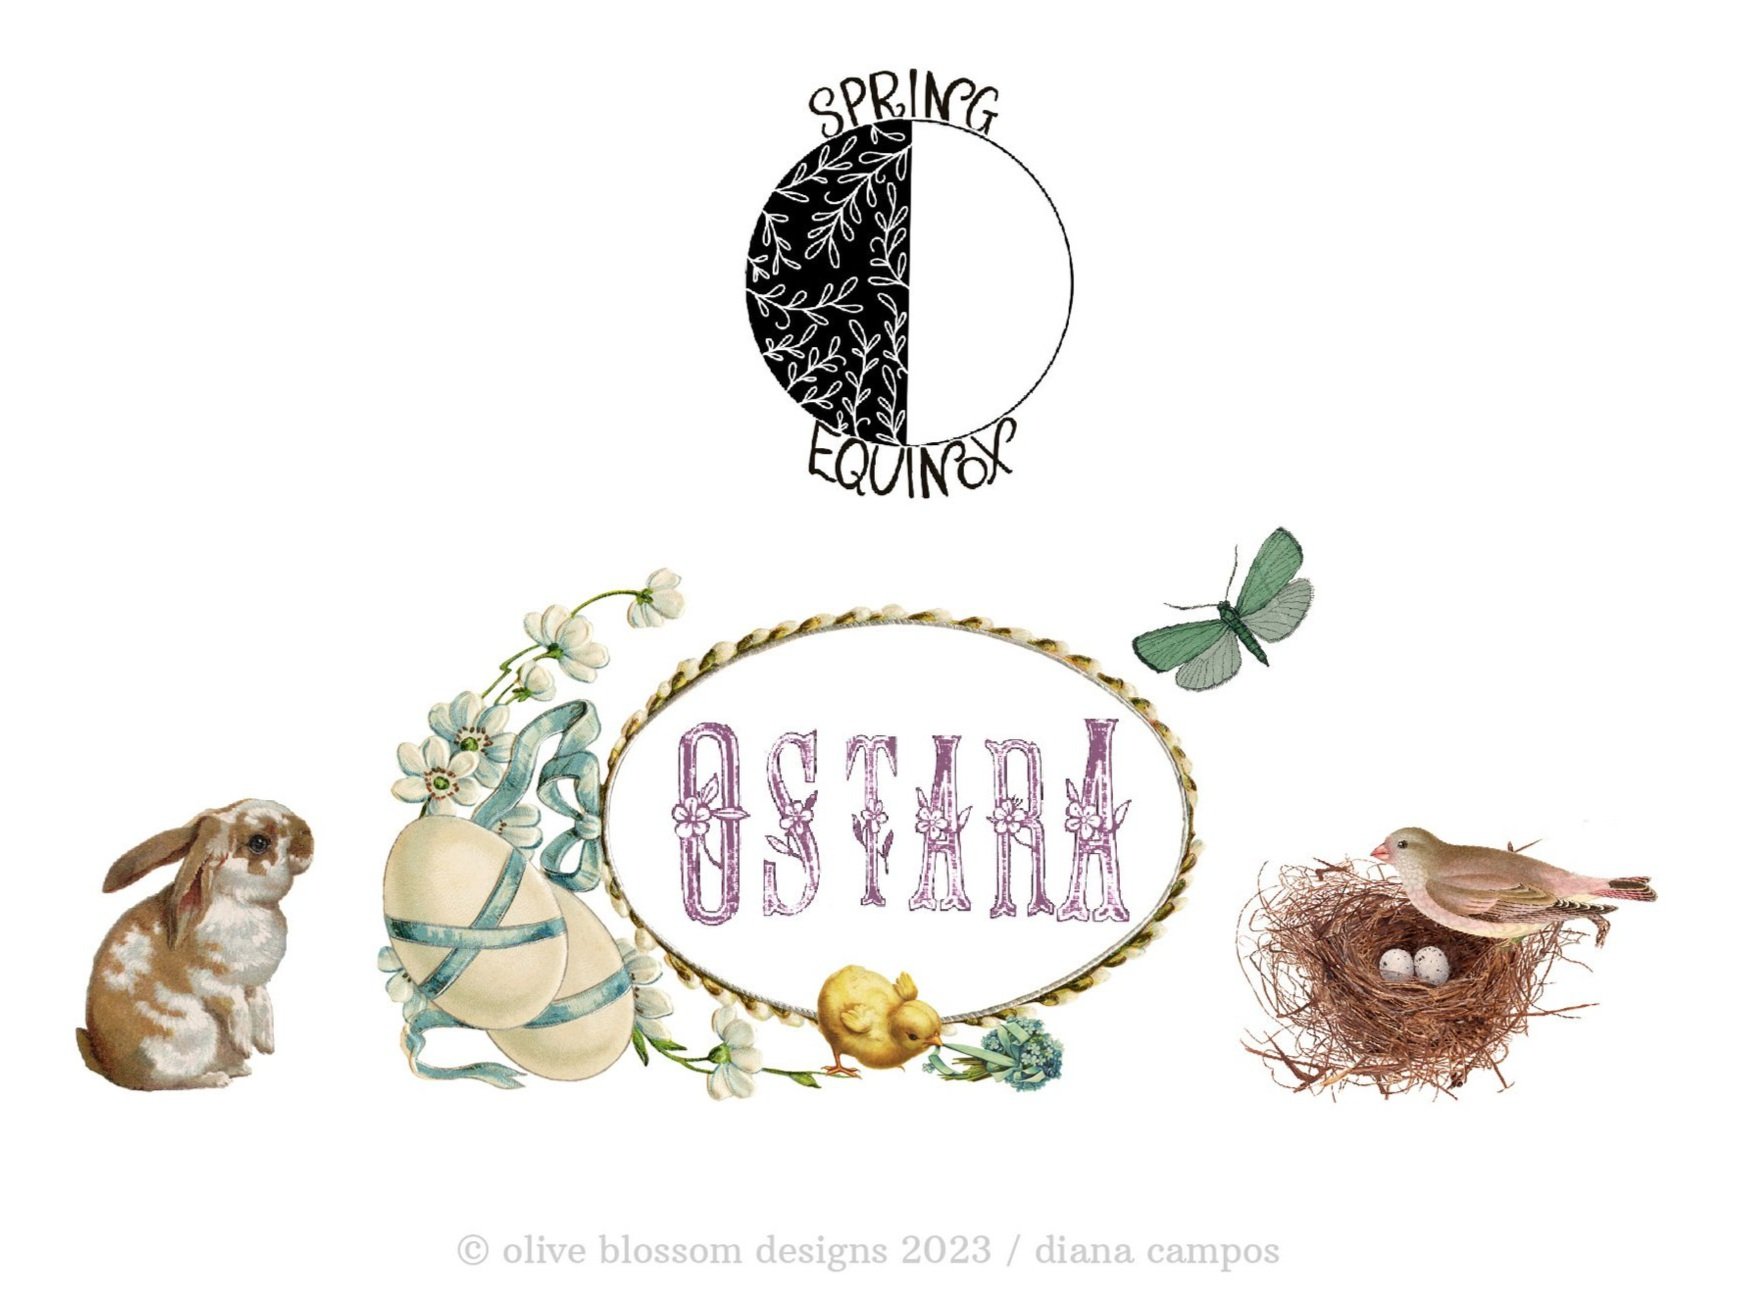
A few basic things about Ostara (pronounced ow· staa· ruh). Ostara is observed on the wheel of the year and celebrates the beginning of Spring and the rebirth of nature. The Spring Equinox (also referred to as vernal [vur·nuhl] equinox) marks the beginning of spring. At this time, there are equal daylight and night hours. This usually happens on or around March 20th, give or take a day. This year, 2023, the spring equinox is on March 20th. 😉
Ostara (sometimes referred to as Ēostre (pronounced yow·str) is the goddess of spring. She sleeps underground and is guarded by the rabbits. She usually awakens every year on the spring equinox to bring in the spring season. However, there are times when Ostara is in a cozy deep sleep and does not hear the rabbits trying to awaken her. Hence those are the years when it takes a long time for the cold weather to subside and warmer sunny days to emerge.
Here is a YouTube [link to the story] of Ostara. It explains how there came to be Easter bunnies and eggs.
(friendly tip, jump forward 50 seconds to skip the singing)
So onto our DIY Craft
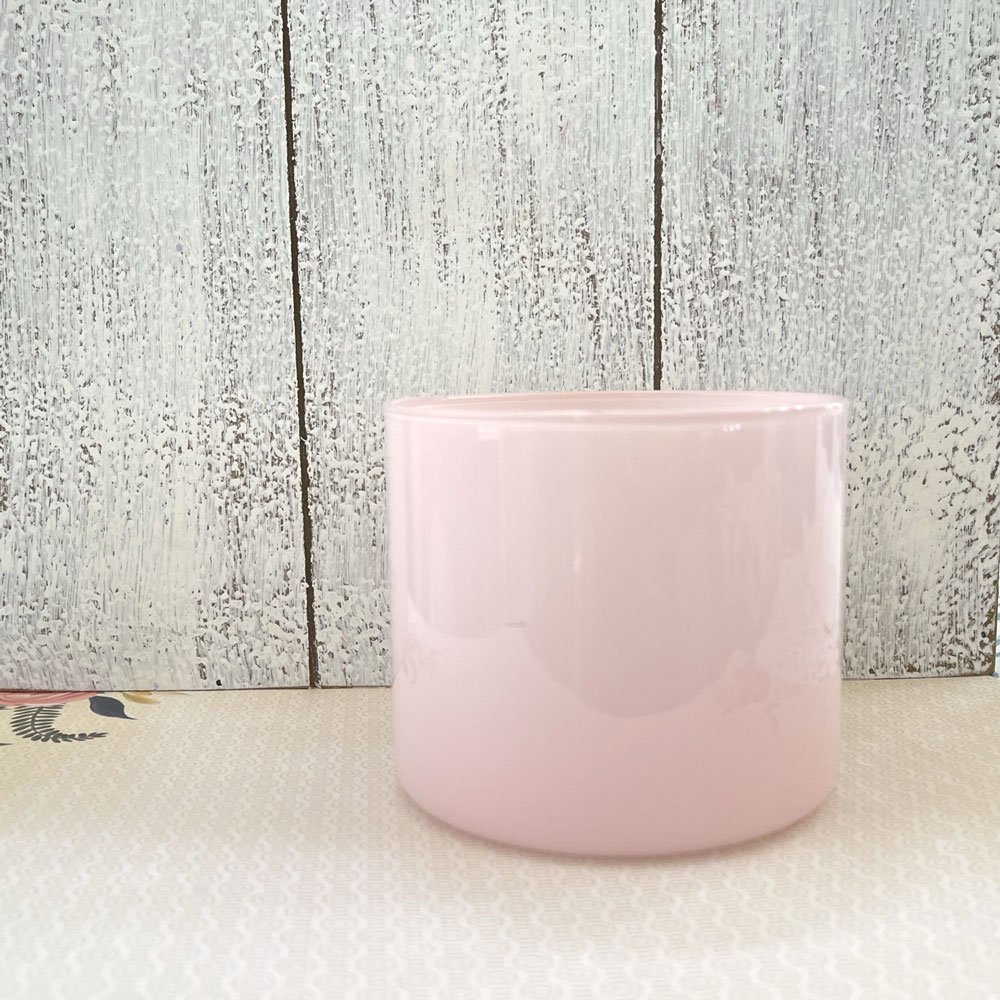
Some words that correspond with Ostara and spring are rebirth, renew, refresh, and rejuvenate. These words apply perfectly to this DIY craft, as it all starts with upcycling an empty used candle jar and decoupaging onto it to renew it and give it a new purpose.
Step 1.
Clean out a candle jar of all the residual wax that did not burn away.
I found this trick on Pinterest, and it’s way too easy.. it was mind-blowing 🤯actually. I typically would spend A LOT of time scraping out the wax.. making it a hard and messy ordeal. Now I have seen the light and know the trick of freezing the candle, causing the unused wax to contract away from the jar. Gotta love some good ol’ science in the works! After a couple of hours in the freezer, the wax pretty much pops out in one piece. IT’SAmazing! Super easy!
Read more about how to clean out empty candle jars of wax here.
Step 2.
So now that my glass candle jar is wax free, simply clean off any stickers/labels with good old-fashioned dishwashing liquid or goo-gone. Be mindful not to scrub too hard, as some of the paint may also come off. I learned this the hard way. 🫤
Step 3.
So the jar is all clean and ready to decoupage. YAY! Now it's just a matter of finding graphics that symbolize Ostara and the coming of spring. I'm using some vintage spring graphics from the graphics fairy. This site does all the work in finding all sorts of vintage illustrations, and they edit them to transparent .png files, making it easy and convenient. You can check The Graphics Fairy here.
Looking on Pinterest is another alternative to finding graphics. You can even create some hand-lettered designs or draw out your own illustrations. For my project, I chose images of a rabbit, eggs, and budding flowers to represent Ostara and springtime.
Step 4.
After you find all the art/design elements you want to decoupage, you just need to print them out. I printed my Ostara design on tissue paper. To print onto tissue paper, you first need to cut some tissue paper to the size of a standard printer paper, tape it down to the printer paper, shiny side up, and print.
I give a more in-depth example of the process in Halloween craft. You can check it out here.


Step 5.
After you have your design elements printed, the next step is to cut them out and glue them to your candle jar. I'm using Hodge Podge and some glittery matte medium to coat over because, why not. I love all things sparkly. 💖
Decoupaging with tissue paper is fantastic. It molds easily to any surface, and I love how it is semi-transparent so that the color of my jar comes through.
** Be careful ** tissue paper tears easily, especially when saturated with mod podge glue. Be mindful of not moving the tissue paper once it is placed down.
When it's all glued down, set your candle jar aside to dry for a couple of hours. After everything is 100% completely dry and no longer tacky, it will be ready to add a tealight candle or battery-operated tealights.
Feel free to use the graphics I used. You can either download them by clicking the button below!


Hello You! - I’m Diana
I am the one-woman show/editor-in-chief of Olive Blossom Designs, and I love it!
I’m so glad you are here!
The moto here at OBD is to: MERGE EVERYDAY LIFE INTO A BEAUTIFUL CREATIVE OUTLET
→ Click here to learn more about OBD←
*NOTE
My goal is to follow the wheel of the year with crafts and other little tidbits along the way. I will also be posting and following the astrology signs. I'm new to astrology and the wheel of the year, and sharing what I have learned about them and creating little crafts helps to reinforce what I’ve learned and help it stick. I almost feel like I’m back in elementary school, but I'm ok with that. Hell, I had fun in elementary school 🤓


