
Unique DIY Christmas Ornament Crafts
Christmas brings out the crafty side in a lot of us.
I, for one, am especially crafty this time of year. I love quirky, unique, fun, and festive projects without having that perfect mass-produced vibe.
This project and any project I post or even other crafty projects that you have seen online are all guidelines. There are no hard and fast rules that you MUST follow. Use the instructions I post as guidelines and always look for ways to put your own spin on the craft you are working on. The tweaks you add make the project you are working on much more unique and special. Trust me!
So with that, all said, the project I outline below is merely how I created my ornaments. You can, by all means, follow the steps I used, or take what you like and ditch what you don’t. The way your ornament will come out. 100% up to you!
Here’s what I used to make my DIY Christmas Ornaments

Items I used:
Clear glass or plastic bulbs. If you’re clumsy or accident prone then I suggest plastic bulbs. 😉
Alcohol Inks
Compressed air with the long skinny tube that was camera shy and not pictured (oopsie 😳)
Acrylic pouring paints
3 Christmas ornaments 3 different ways
Monochromatic Green Watercolor Ornament

For the Monochromatic Green Watercolor Ornament, I used:
A glass bulb
Various shades of green alcohol inks
Compressed air
The steps I took to create this ornament are:
Remove the top of the glass bulb.
Drop a few drops of alcohol ink inside the bulb. I was careful to try not to let it drip along the side.
After 2 or 3 drops of ink to create a small pool, I gently tilted the bulb to guide it into a swash of “watercolor.”
I gently used the compressed air to dry the swash of ink and/or push the ink in the desired shape.
Then I Repeated steps 2 - 4 in a different area of the bulb until the whole bulb was covered.

Marbled Christmas Ornament with acrylic pour paint
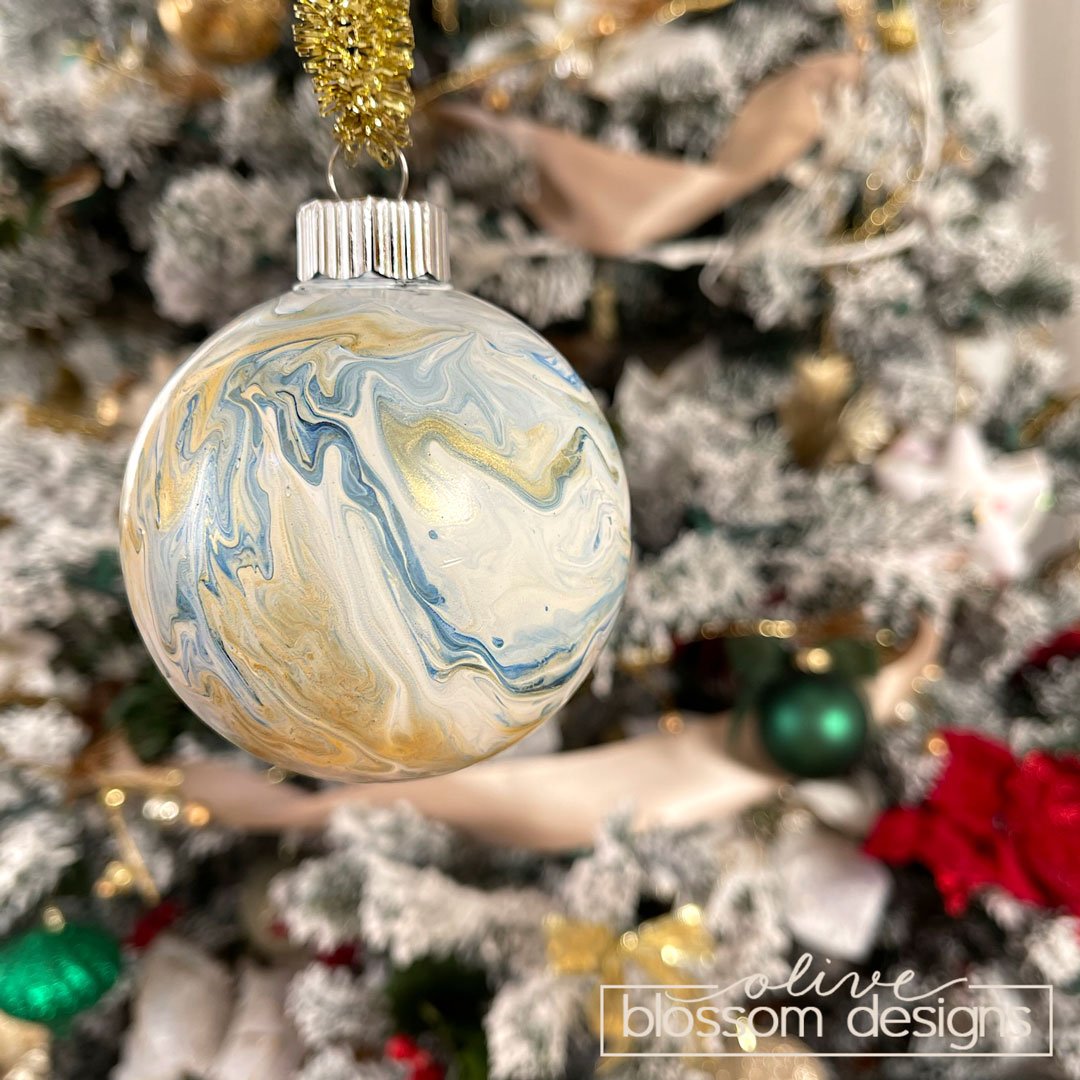
The marbled Christmas ornament was messy. I’d advise some prep ahead of time. I wish I did. One recommendation is to place the bulb on a popsicle stick, pencil, or paintbrush secured in a bottle or cup to hold the bulb while pouring your paint onto the ornament. I’d advise wearing gloves. Pouring acrylic fluids are fun but are very messy, so…
For the Marbled Christmas Ornament, I used:
A clear plastic bulb
Pour acrylic paints
The steps I took to create this ornament are:
Remove the top of the bulb.
Pour paint over the top of the bulb and rotate it to get the desired marble effect.
Allow drying for several hours or overnight.

Combo Ornament - Alcohol Ink and Pouring Acrylic Paint

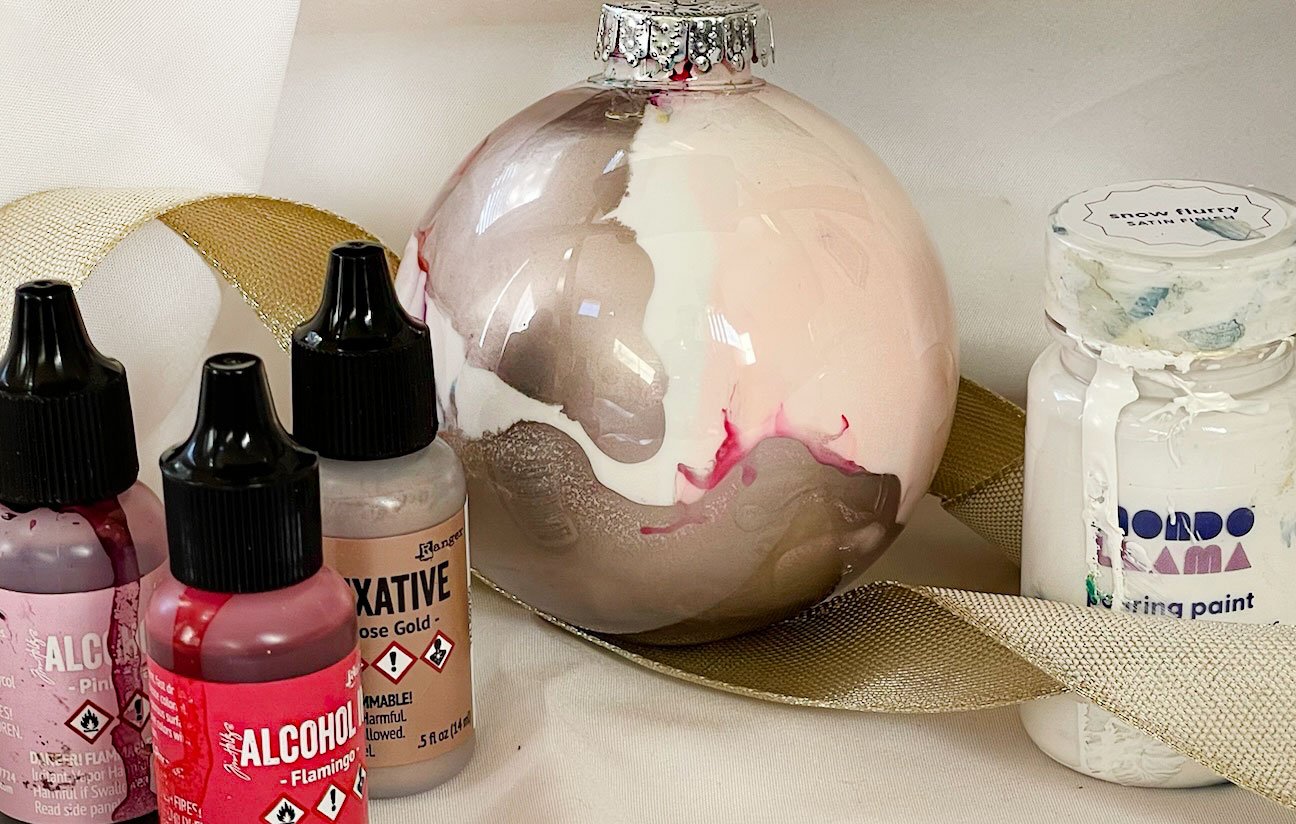
I started this ornament and became sad and disappointed with the light pink ink. The pink wasn't opaque enough and hardly visible. The color was way too transparent on the clear glass bulb.
I didn't really like the marbled Christmas ornament craft. After it was completely dried, it still felt tacky… so I decided to add the acrylic paint to the inside of the bulb behind the pink alcohol ink. I'm happy I took the chance and did it! Now I can see the light pink alcohol ink! I love how the white paint made the pink colors come alive!
For the Combo Ornament, I used:
A clear plastic bulb
Alcohol Inks & white pouring acrylic paint
The steps I took to create this ornament are:
Remove the top of the bulb.
Drop a few drops of alcohol ink inside the bulb. I was careful to try not to let it drip along the side.
After 2 or 3 drops of ink to create a small pool, I gently tilted the bulb to guide the ink around the inside of the bulb to get the desired shape.
I gently used the compressed air to dry the swash of ink and/or push the ink in the desired shape.
After the ink was 100% dried, I poured in the white paint and then dried the white paint for several hours.
I hope this post has encouraged you to view DIY craft instructions as guidelines and not anything that must be followed precisely.
Take chances and put your own personal touch to it.
Don’t worry too much if your project doesn’t come out as you had hoped, or you don’t like it at all!
Make mistakes and messes, and BE BOLD! Don’t be afraid to live creatively!


